
Many users start by uploading years' worth of receipts, invoices, and other documents to SparkReceipt. There are two paths that both work well for backlogs:
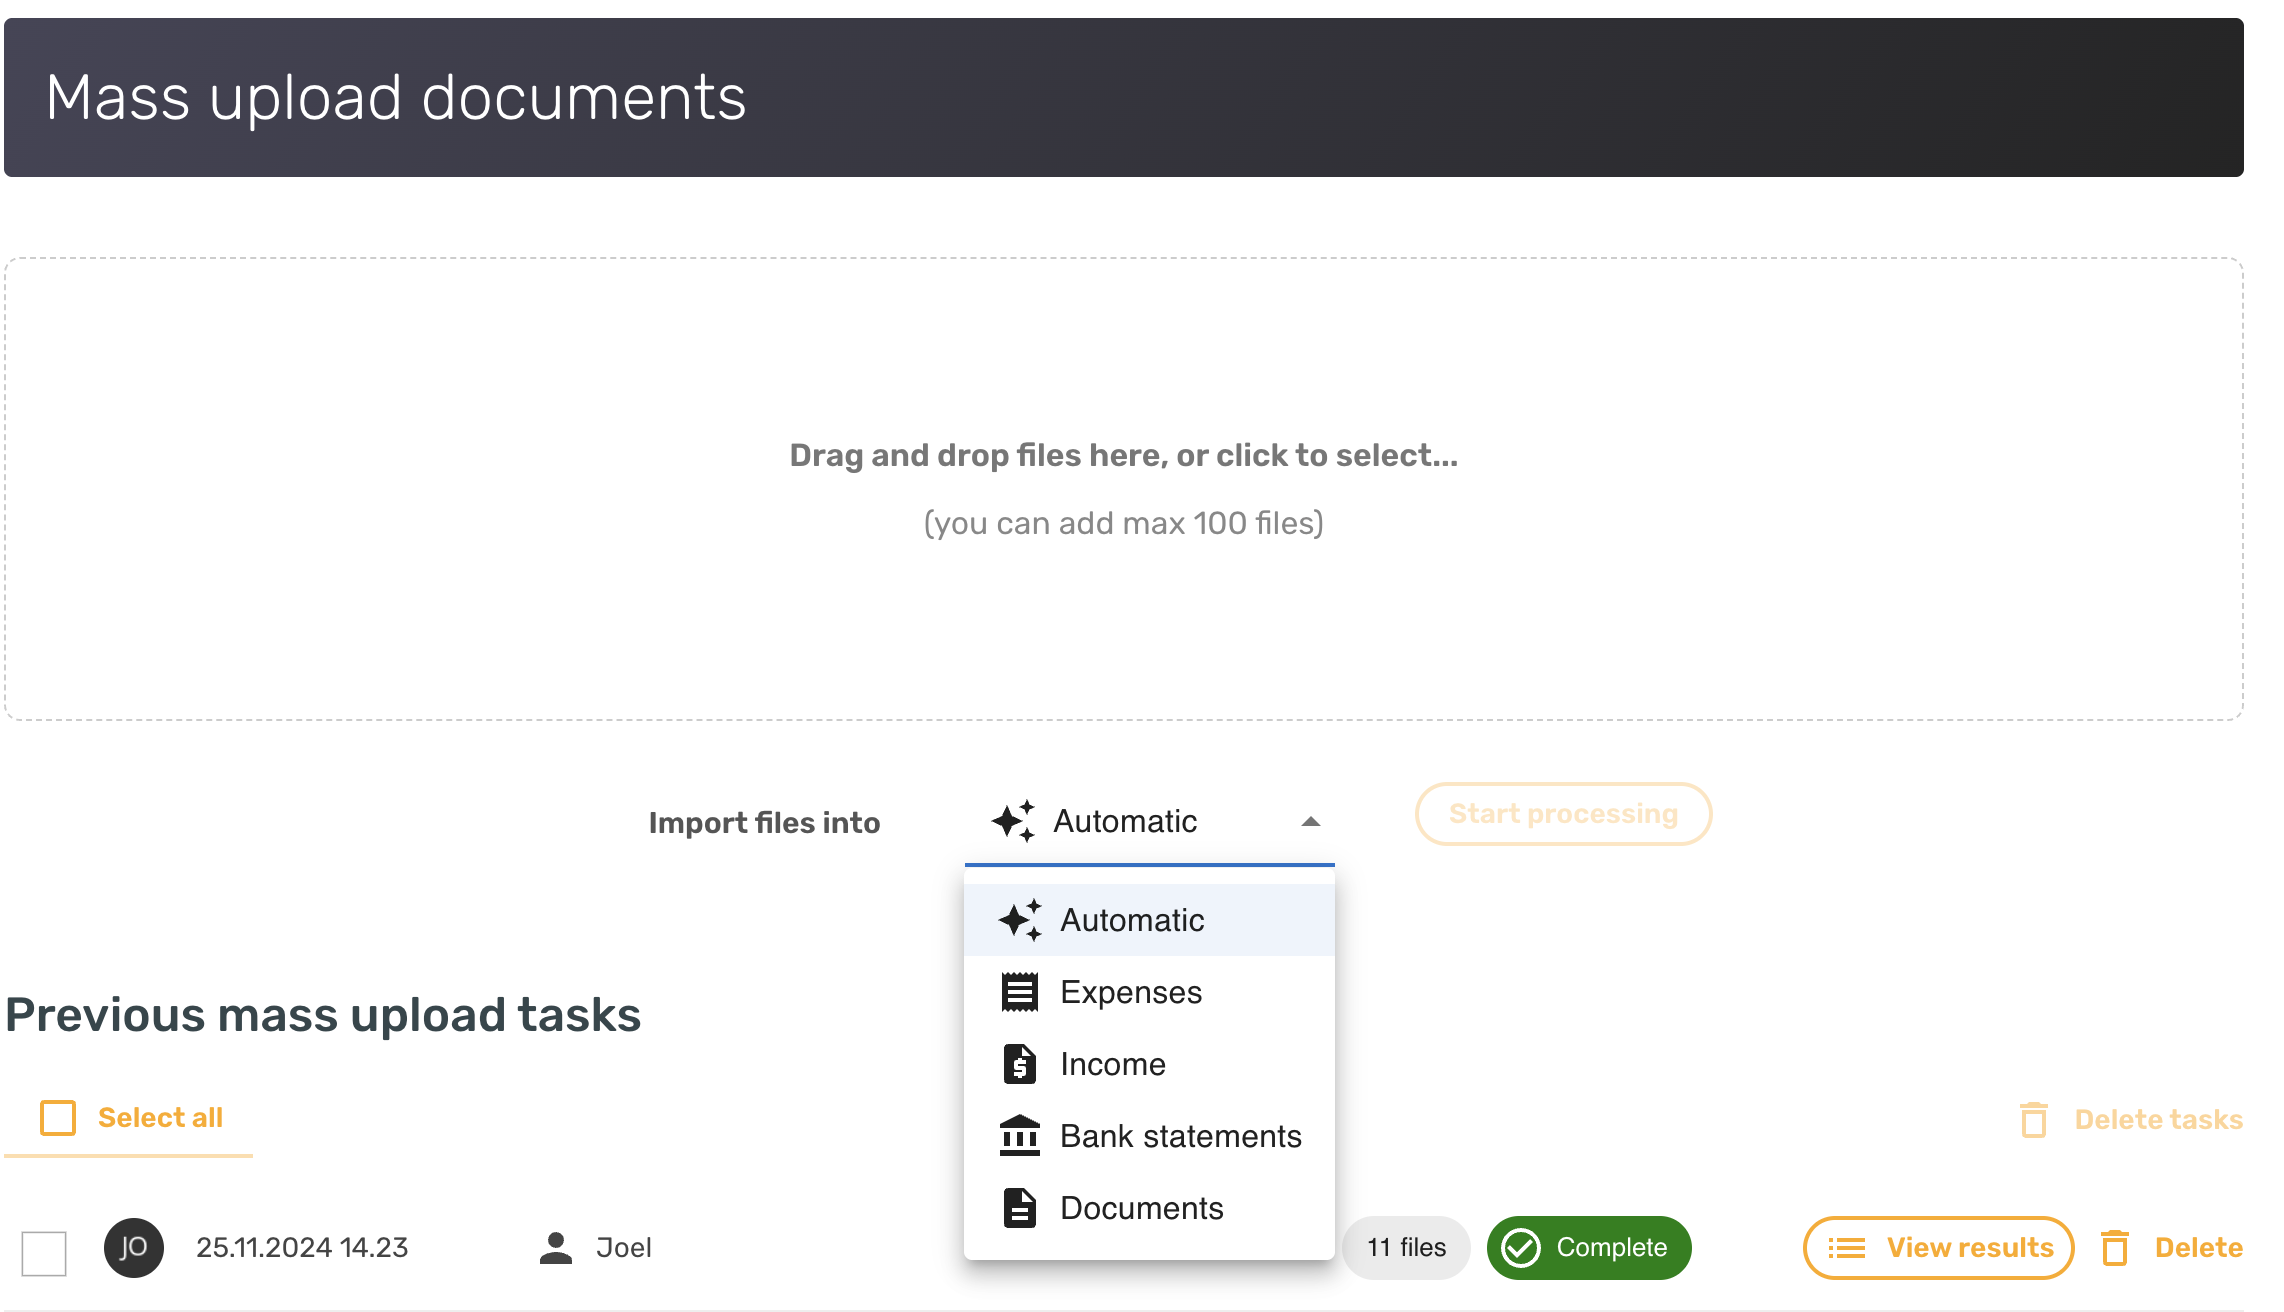
- Mass upload (files on your computer). Upload up to 100 files at once from the web app — PDFs and photos of your receipts and invoices. You can pick a category up front or let AI categorize each document from scratch. See File format and max file size for upload for the full list of accepted formats. (Importing a spreadsheet or CSV of expenses — Excel, CSV, or a downloaded Google Sheet — works differently; see the section below.)
- Email history extraction (receipts already in your inbox). If your past receipts are sitting in a Gmail, Microsoft, or IMAP mailbox, connect that mailbox via automatic email scanning and then run a one-off history extraction over a past date range. SparkReceipt walks backwards through your messages, classifies each one, and imports the receipts it finds.
https://www.youtube.com/embed/nLZVJFXD7qA
Importing a spreadsheet of expenses (Google Sheets, Excel, CSV)
If your historical expenses live in a spreadsheet — a Google Sheet, an Excel workbook (.xlsx/.xls), or a CSV file — you can import them so that each row becomes its own expense. The key is to upload the file as a bank statement, not as an expense or receipt.
Avoid this mistake: don't upload a spreadsheet of expenses as an Expense or receipt. When you do, SparkReceipt reads the whole sheet as a single document and turns its rows into the line items of that one document — so a sheet of, say, 200 expenses becomes one document with 200 line items, not 200 separate expenses. That's almost never what people want. Upload it as a bank statement instead.
Uploading it as a bank statement works because bank statement extraction is built to read a table of transactions row by row. Here's the flow (web app):
-
Download the sheet first if it's a Google Sheet. There's no live Google Sheets connection — in Google Sheets, choose File → Download → Comma-separated values (.csv) or Microsoft Excel (.xlsx). Excel and CSV files can be uploaded as they are.
-
Upload the file as a bank statement. In the left sidebar click Add documents, choose Bank or credit card statement, and add your CSV/Excel file. To bring in several files at once, use Mass upload and set Import files into to Statements.
-
Let extraction read the rows. SparkReceipt extracts each row as an individual transaction. Open the statement and click View transactions to watch progress.
-
Convert the transactions into expenses. Select the rows you want and click Convert selected… — each unmatched row becomes its own Expense (money out) or Income (money in) document.
For the full step-by-step, including what each conversion option does, see Bank statement extraction: the complete guide.
Good to know before you rely on this:
- It's a web-app flow. Uploading a spreadsheet and converting its rows is done in the web app. The mobile app can't upload CSV or spreadsheet files, and it can't view or convert statement transactions.
- The created expenses are records, not scanned receipts. Each row's document carries over its description, date, amount, reference, category, and currency — but no receipt image is attached to it, and the merchant isn't stored as a structured contact (only the row's text). So the result isn't identical to scanning each receipt individually. The original spreadsheet stays as its own separate bank-statement document, and the converted expenses are independent records that remain even if you later delete that statement.
- Each extracted row uses one credit. See Bank Statement extraction credits: What they are and how they work?
If what you actually want to import is a chart of accounts — your expense and income categories — from a spreadsheet, that's a separate feature. See Can I import categories into SparkReceipt? and AI-based chart of accounts import, which turn each spreadsheet row into a category rather than a document.